We had a potluck at our house a while back and one of my good friends brought a tray of delicious baked apples. Everybody loved them, so I had to get the list of ingredients.
A few days later, I made my own version. My friend’s list of ingredients did not have the amounts, so I improvised. I also removed two ingredients from the list and added three (honey, vanilla, and dried blueberries). As usual, I doubled the recipe. My whole family enjoyed the baked apples for 3 days in a row.
Thank you, my friend, for this great idea!
These baked apples are rich in:
- Fiber and vitamin C from apples
- Healthy fats, copper, and manganese from walnuts
- Antioxidants, vitamin C, vitamin K, and manganese from blueberries
- Healthy fats and fiber from coconut flakes
- Manganese, calcium, and fiber from cinnamon
- Vitamin B2 and minerals (manganese, iron, copper, potassium, zinc) from honey
- Healthy fats from coconut oil
Tasty Tuesday: Baked Apples with Blueberries, Walnuts, and Vanilla Filling
Author: Alina Muresan
Prep time:
Cook time:
Total time:
Serves: 6
Baked Apples with Blueberries, Walnuts, and Vanilla Filling
Ingredients
- 6 apples (*)
- ¼ cup walnuts, chopped very small (with a rolling pin, with a knife, or in the food processor)
- ¼ cup dried blueberries (**)
- ¼ cup coconut flakes
- ¼ teaspoon cinnamon
- 1 teaspoon vanilla extract
- 1 tablespoon honey
- 1 tablespoon coconut oil
- Cinnamon and nutmeg to sprinkle on apples
- *I use Gala apples because this is what we usually have at our house, but other types of apples work too.
- ** Any dried fruit works (Turkish apricots, raisins, cranberries, etc.) as long as they are chopped into very small pieces.
Instructions
- Preheat the oven to 350 F.
- Mix the filling ingredients (walnuts, dried blueberries, coconut flakes, cinnamon, vanilla extract, honey, coconut oil) in a small bowl.
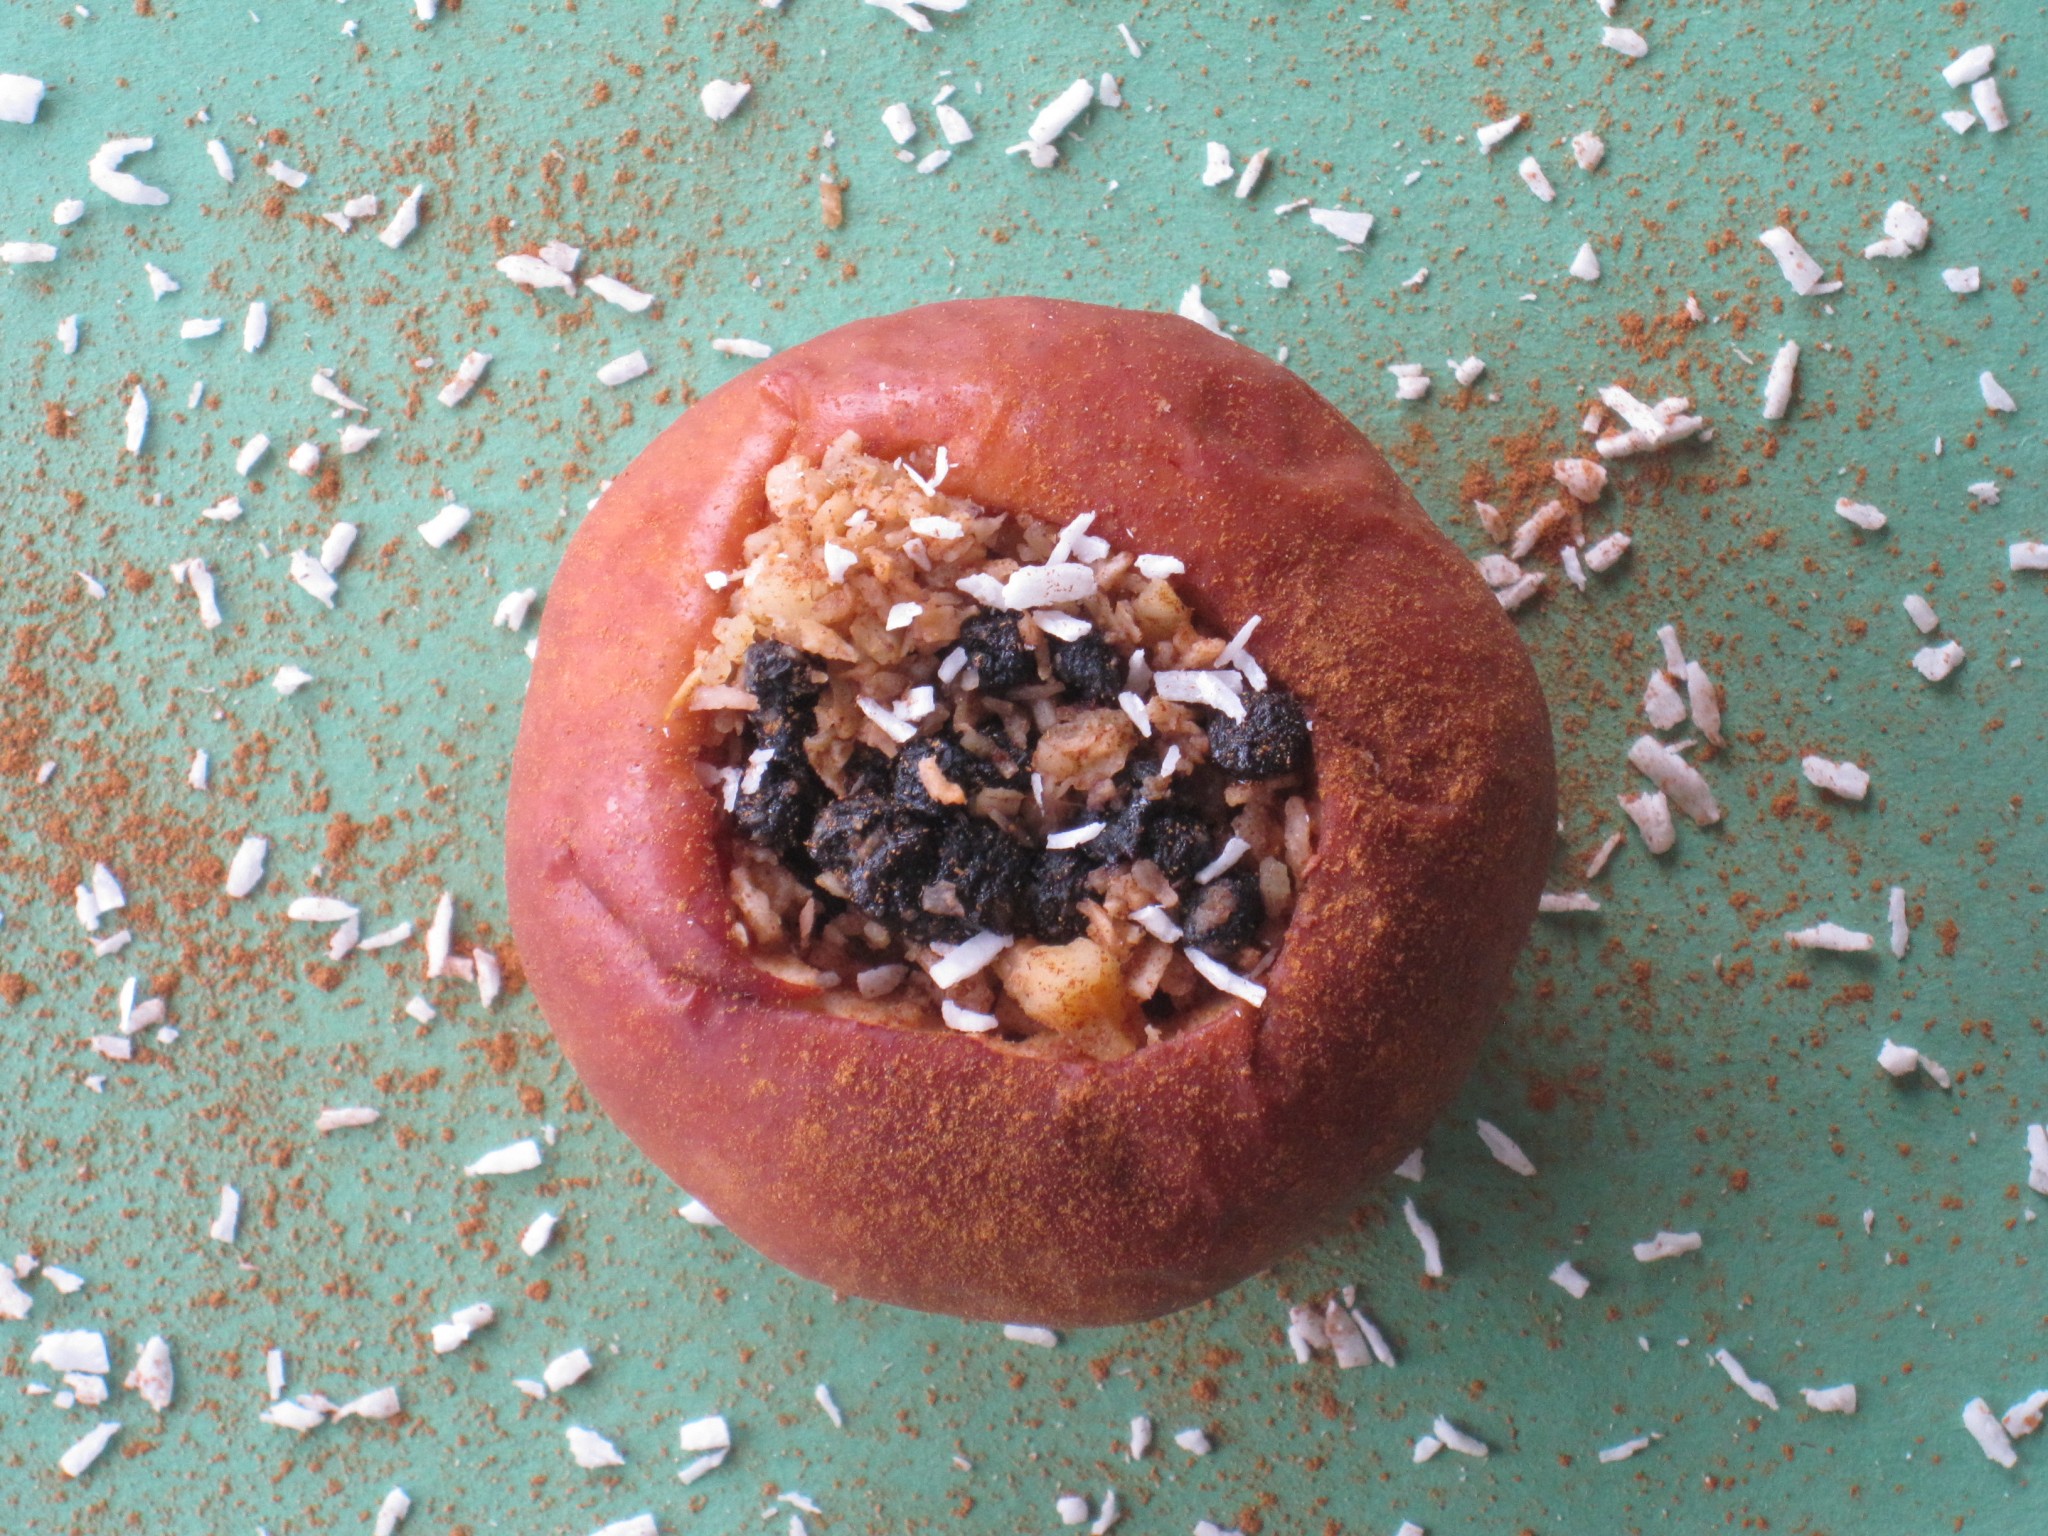
- Make a hole through each apple with a knife or an apple corer. Widen each hole to approximately 1 inch. Next, widen the top part of the apple even more. You can see in the photo how wide I made the hole at the top of the apple. The hole is narrower in the middle of the apple.
- Place the apples in a 9x13" oven-proof dish. Stuff each apple with the delicious filling.
- Pour a little bit of water in the dish to just cover the bottom, sprinkle the apples with cinnamon and nutmeg, and cover the dish with a lid. Place the dish in the oven.
- After 15 minutes of baking, take the dish out, and pour the juice formed at the bottom of the dish over the apples with a big spoon. Do this again after another 15 minutes of baking.
- Bake for a total of 45 minutes until the apples are soft, but not mushy. The baking time will depend on the type of the apples and their size.
- Remove from the oven. Enjoy the baked apples warm or cold.
- The leftover baked apples can be refrigerated for up to 3 days.
- As always, I double the recipe so we get to enjoy the baked apples the next day too.
Sources:







Leave A Comment